


git 설치 및 설정git 설치 및 설정
0. github 계정 생성
https://github.com/
위에 사이트에 들어가서 계정을 생성합니다.
1. git 설치 및 초기 설정
1-1 yum으로 설치하기
|
1
|
[root@techsmile-13032 src]# yum install git
|
1-2 설치 확인
|
1
2
3
|
[root@techsmile-13032 src]# rpm -qa | grep git
git-1.7.1-9.el6_9.x86_64
xz-libs-4.999.9-0.5.beta.20091007git.el6.x86_64
|
2. git 연동할 폴더 생성
|
1
2
|
[root@techsmile-13032 /]# mkdir git
[root@techsmile-13032 /]# cd git
|
2-1 초기 셋팅
|
1
2
|
[root@techsmile-13032 git]# git config –global user.name “계정명”
[root@techsmile-13032 git]# git config –global user.email “이메일주소”
|
초기 셋팅 확인
|
1
2
3
4
5
6
7
|
[root@techsmile-13032 git]# git config –list
user.name=계정명
user.email=이메일주소
core.repositoryformatversion=0
core.filemode=true
core.bare=false
core.logallrefupdates=true
|
2-2 git init
|
1
2
|
[root@techsmile-13032 git]# git init
Initialized empty Git repository in /git/.git/
|
git init을 치게 되면 만든 디렉터리 안에 .git 라는 숨겨진디렉터리이 생깁니다.이 명령어를 통해서 만든 디렉터리에 git를 사용할 수 있습니다.
|
1
2
3
4
5
|
[root@techsmile-13032 git]# ll
합계 16
drwxr-xr-x 3 root root 4096 2018-01-27 23:32 ./
dr-xr-xr-x. 25 root root 4096 2018-01-27 23:30 ../
drwxr-xr-x 7 root root 4096 2018-01-27 23:33 .git/
|
2-3 git status
먼저 만든 git 디렉터리 안에 테스트용으로 파일 1개(이름 test)를 만들어 두었습니다.
|
1
2
3
4
5
6
7
8
9
10
11
12
13
|
[root@techsmile-13032 git]# ls
test
[root@techsmile-13032 git]# git status
# On branch master
#
# Initial commit
#
# Untracked files:
# (use “git add <file>…” to include in what will be committed)
#
# test
nothing added to commit but untracked files present (use “git add” to track)
|
git status를 치게되면 현재 파일들의 상태를 볼 수 있습니다.위에 Initial commit이 뜨는 이유는 commit을 해야 git에 파일이 저장이 되는데, 현재 초기상태이기 때문에 이 문장이 뜨는 것입니다.
2-4 git add
|
1
2
3
4
5
6
7
8
9
10
11
|
[root@techsmile-13032 git]# git add test
[root@techsmile-13032 git]# git status
# On branch master
#
# Initial commit
#
# Changes to be committed:
# (use “git rm –cached <file>…” to unstage)
#
# new file: test
#
|
git add를 치게되면 git에 올릴 파일들을 저장합니다.만약 올릴파일이 여러개라면 git add . 으로 디렉터리 안에있는 untracked files들을 다 올릴 수 있습니다.
|
1
2
3
4
5
6
7
8
9
10
11
12
|
[root@techsmile-13032 git]# git add .
[root@techsmile-13032 git]# git status
# On branch master
#
# Initial commit
#
# Changes to be committed:
# (use “git rm –cached <file>…” to unstage)
#
# new file: test
# new file: test2
#
|
2.5 git commit
git commit을 통해 First Commit 이라는 이름으로 올릴 수 있습니다.
|
1
2
3
4
5
6
7
8
9
10
|
[root@techsmile-13032 git]# git commit -m “first commit”
[master (root-commit) 09fd79a] first commit
2 files changed, 4 insertions(+), 0 deletions(-)
create mode 100644 test
create mode 100644 test2
[root@techsmile-13032 git]# git status
# On branch master
nothing to commit (working directory clean)
|
|
1
2
3
4
5
6
|
[root@techsmile-13032 git]# git log
commit 09fd79ac72d90658215ab929b26dc180773c73a7
Author: lena0430 <tara388@naver.com>
Date: Sun Jan 28 00:12:20 2018 +0900
first commit
|
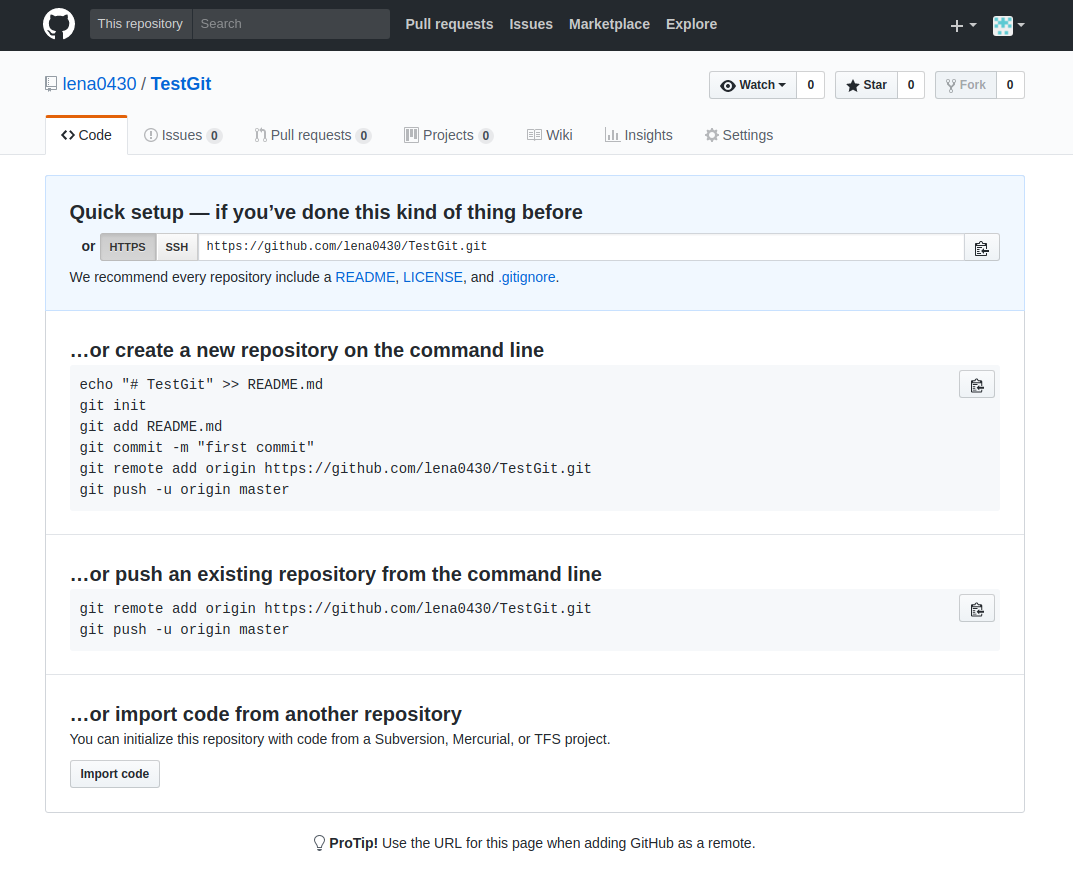
3-2 git remote
git remote를 통해 원격 저장소를 관리할 수 있습니다.
|
1
2
3
|
[root@techsmile-13032 git]# git remote add origin https://github.com/lena0430/TestGit.git
[root@techsmile-13032 git]# git remote
origin
|
3-3 git push
원격저장소를 git remote로 연결했으니, 전에 한 commit 한 작업들을 push 명령어로 올릴 수 있습니다.
|
1
2
3
4
5
6
7
8
9
|
[root@techsmile-13032 git]# git push -u origin master
Password:
Counting objects: 4, done.
Compressing objects: 100% (2/2), done.
Writing objects: 100% (4/4), 260 bytes, done.
Total 4 (delta 0), reused 0 (delta 0)
To https://lena0430@github.com/lena0430/TestGit.git
* [new branch] master -> master
Branch master set up to track remote branch master from origin.
|
만약 git push 때 이런 에러가 발생한다면
|
1
2
3
4
5
|
[root@techsmile-13032 git]# git push -u origin master
Password:
error: The requested URL returned error: 403 Forbidden while accessing https://lena0430@github.com/TestGit.git/info/refs
fatal: HTTP request failed
|
git set-url origin https://계정명@github.com/계정명/저장소명 으로 바꾼뒤 다시 git push -u origin master 를 해보면 정상적으로 올라간다.
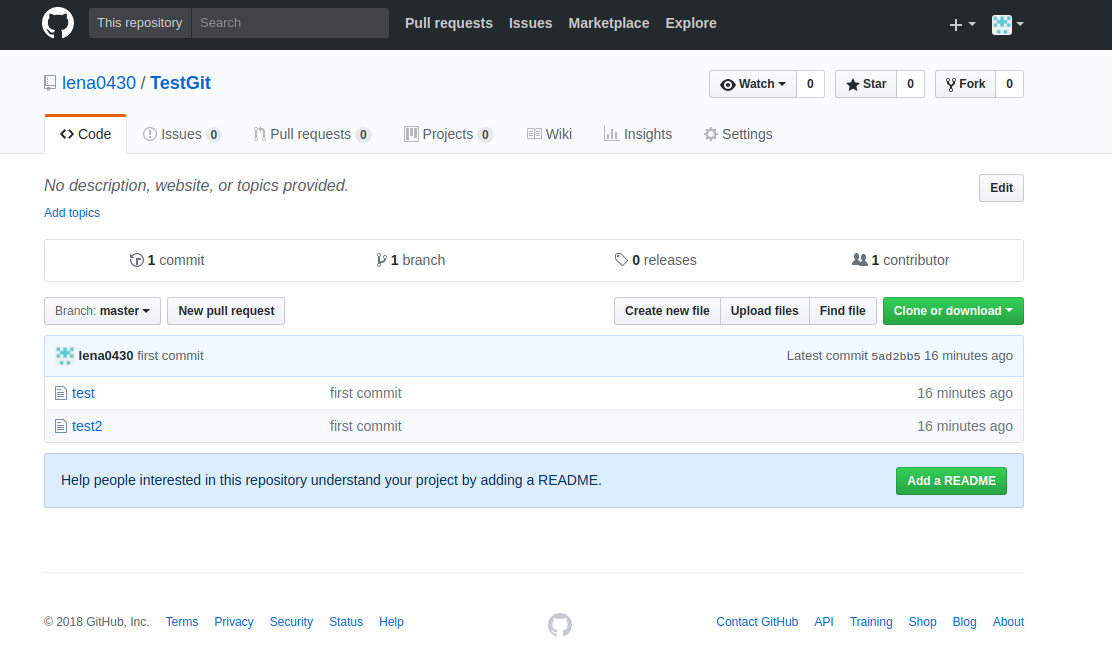
3-4 확인
github에 저장소에 들어가보면 올라가있는 것을 확인해 볼 수 있다.