


리눅스 내에 ORACLE Express 설치하는 방법을 설명하겠습니다.
테스트한 리눅스 버전은 CentOS 6.9입니다.
Oracle Express은 11G express 버전을 다운받아서 설치 진행했습니다.
1. 먼저 oracle 홈페이지에 들어가서 라이센스를 누른다음에 Linux 버전을 다운받습니다.
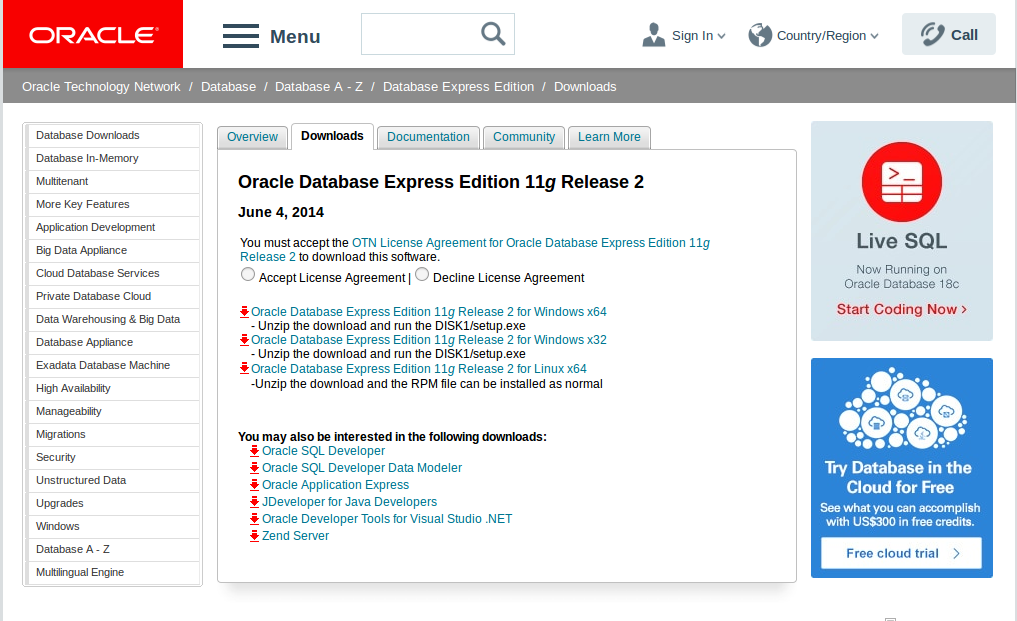
홈페이지 : http://www.oracle.com/technetwork/database/database-technologies/express-edition/downloads/index.html
Oracle Express 버전은 Oracle 홈페이지 로그인 없이 다운로드가 가능합니다.
FTP 를 이용하여 서버에 업로드 합니다.
2. 홈페이지에서 받은 파일을 unzip 명령으로 풀어줍니다.
| [root@oracle winftp]# cd /usr/local/src [root@oracle src]# ls apm_setup_script.sh iptables_setup_script.sh ssh_modify.sh hdd_speed_check.sh oracle-xe-11.2.0-1.0.x86_64.rpm.zip [root@oracle src]# unzip oracle-xe-11.2.0-1.0.x86_64.rpm.zip Archive: oracle-xe-11.2.0-1.0.x86_64.rpm.zip creating: Disk1/ creating: Disk1/upgrade/ inflating: Disk1/upgrade/gen_inst.sql creating: Disk1/response/ inflating: Disk1/response/xe.rsp inflating: Disk1/oracle-xe-11.2.0-1.0.x86_64.rpm |
3. 압축을 푼 rpm 파일을 설치합니다.
| [root@oracle src]# cd Disk1/ [root@oracle Disk1]# ls oracle-xe-11.2.0-1.0.x86_64.rpm response upgrade [root@oracle Disk1]# rpm -Uvh oracle-xe-11.2.0-1.0.x86_64.rpm Preparing… ########################################### [100%] /var/tmp/rpm-tmp.1KNqFz: line 186: bc: command not found 1:oracle-xe ########################################### [100%] Executing post-install steps… /var/tmp/rpm-tmp.CMXg9k: line 76: bc: command not found /var/tmp/rpm-tmp.CMXg9k: line 77: bc: command not found /var/tmp/rpm-tmp.CMXg9k: line 78: [: -gt: unary operator expected /var/tmp/rpm-tmp.CMXg9k: line 82: bc: command not found You must run ‘/etc/init.d/oracle-xe configure’ as the root user to configure the database. |
만약에 위와 같은 bc 관련된 에러가 발생하는 경우 yum install bc를 설치해 준 뒤에 rpm 파일을 다시 설치해주면 됩니다.
4. oracle 설치
|
[root@oracle ~]# /etc/init.d/oracle-xe configure Oracle Database 11g Express Edition Configuration Specify the HTTP port that will be used for Oracle Application Express [8080]: [엔터] Specify a port that will be used for the database listener [1521]: [엔터] Specify a password to be used for database accounts. Note that the same
Do you want Oracle Database 11g Express Edition to be started on boot (y/n) [y]:y Starting Oracle Net Listener…Done |
5. oracle 설치 완료 후 서비스 상태 확인
|
[root@oracle ~]# service oracle-xe status LSNRCTL for Linux: Version 11.2.0.2.0 – Production on 20-MAY-2018 00:54:39 Copyright (c) 1991, 2011, Oracle. All rights reserved. Connecting to (DESCRIPTION=(ADDRESS=(PROTOCOL=IPC)(KEY=EXTPROC_FOR_XE))) |
위에 상태를 확인해보면 status UNKNOWN상태임을 확인할 수 있습니다. Unknown 상태이면 접속을 할 수 없습니다.
계정을 생성해서 접속이 되는지 확인해 보는 작업을 진행해봅니다.
6. Oracle 계정 생성
| [root@oracle ~]# su – oracle -bash-4.1$ export ORACLE_HOME=/u01/app/oracle/product/11.2.0/xe -bash-4.1$ export ORACLE_BASE=/u01/app/oracle -bash-4.1$ export ORACLE_SID=XE |
Oracle 계정을 생성한 뒤에, Sqlplus가 설치되어있는 경로로 이동하여 sqlplus로 접속하여 sysdba로 접속해봅니다.
|
-bash-4.1$ cd product/11.2.0/xe/bin -bash-4.1$ ./sqlplus /nolog SQL*Plus: Release 11.2.0.2.0 Production on Sun May 20 00:56:52 2018 Copyright (c) 1982, 2011, Oracle. All rights reserved. SQL> connect /as sysdba; |
설치 및 셋팅이 완료되었으며, 기본 쿼리를 통해 확인을 해봅니다.
|
SQL> select 10+1 from dual; ———- 11 |
오라클 홈페이지 접속 비밀번호가 아니라 aws 접속 system계정 비밀번호였네요 모르고 계속 invalid character 떠서 왜그런가 했어요 ,, 저같은 초보자들은 헷갈릴수 있을것같아요 수정해주시면 감사하겠습니다.